The technique that really adds distance—and the 3 mistakes that hold beginners back. Hint: It's not about strength; it's about timing.
If you had to remember just one sentence from this entire guide, it would be this one, from Innova: “Many players throw just as far at 50% power as they do when trying to throw at full speed. The difference is timing.”
This goes against instinct. Almost all beginners try to force the throw—and end up losing both distance and accuracy. Power in disc golf doesn’t come from the arm: it starts from the ground, travels up through the legs and hips, and the arm simply transmits it.
This guide covers the two basic throws, the grip, and the three mistakes that hold back 90% of beginners.
The Grip
Two main grips for the backhand:
- The power grip: four fingers curled tightly against the inner rim of the disc, with the thumb on top. This is the grip for long throws. The disc must be held tightly—if it slips, you’ll lose spin.
- The fan grip: fingers spread out beneath the rim of the disc. Less power, more control. Ideal for approach throws and short throws.
A rule that applies to everyone: there is no single “perfect” grip. Reputable sources make this clear—everyone’s anatomy and preferences differ. Start with the power grip, then adjust as needed.
The Backhand
This is the natural throw, the one you’d use for Frisbee at the beach: the arm swings across in front of the body, palm facing up.
The Correct Sequence
Order matters more than strength:
- Plant your front foot (the right foot for a right-hander).
- Push off with your back leg.
- Rotate your hips.
- Your shoulder follows, driven by your hips.
- Release.
One of the most common reasons for losing distance: throwing before the front foot is fully planted. If you release the disc while you’re still off-balance, the entire motion breaks down.
The Power Pocket
Many pros cite the power pocket as the most critical factor for distance: a 90° angle between the shoulder and the bicep, and 90° between the bicep and the forearm, at the moment the disc passes close to the chest. This is the point where energy is compressed before being released.
Two Myths to Discard
- “Pulling” the disc. Coaches describe the image of pulling like a lawnmower starter cord as “a terrible idea”. The arm should remain relatively relaxed and act like a whip as the body rotates.
- The “reach back .” The idea that pulling your arm far back behind you equals power is false. The arm does extend far back in any good backhand throw—but as a consequence of the body’s rotation, not because you consciously move it there.
The forehand (or sidearm)
The disc is released from the side of your throwing arm, palm facing up, like a backhand in table tennis.
The mechanics:
- The wrist is very active—it’s what generates the spin.
- Lead with your elbow: the elbow leads the movement and moves toward your hip.
- The reach back is non-linear—it goes upward, not straight back. This is the major difference from the backhand.
- Weight transfer remains crucial.
When to use it:
- On turns that go from right to left (for a right-hander), in the forest
- When the wind is blowing from right to left
- When there’s limited space to step back
- To pass through a small opening between trees
A note on accuracy: the term “fork grip,” widely used in the community, is not the standard terminology, which instead refers to stacked grip, power grip, and fan grip. Universal principles: proper placement of the thumb and non-throwing fingers.
The X-step
The X-step is the approach step in disc golf: the back foot crosses in front of the front foot while the body moves laterally toward the target. One step, one hop, one step—with fluid momentum.
What it does: it rotates the hips, allowing the power generated by the legs to be transferred to the throw. It also brings your body from the back of the tee pad to the front, into the throwing position.
Don’t learn this first. Master a clean stationary throw first—the X-step amplifies your technique, whether it’s good or bad.
The Putt
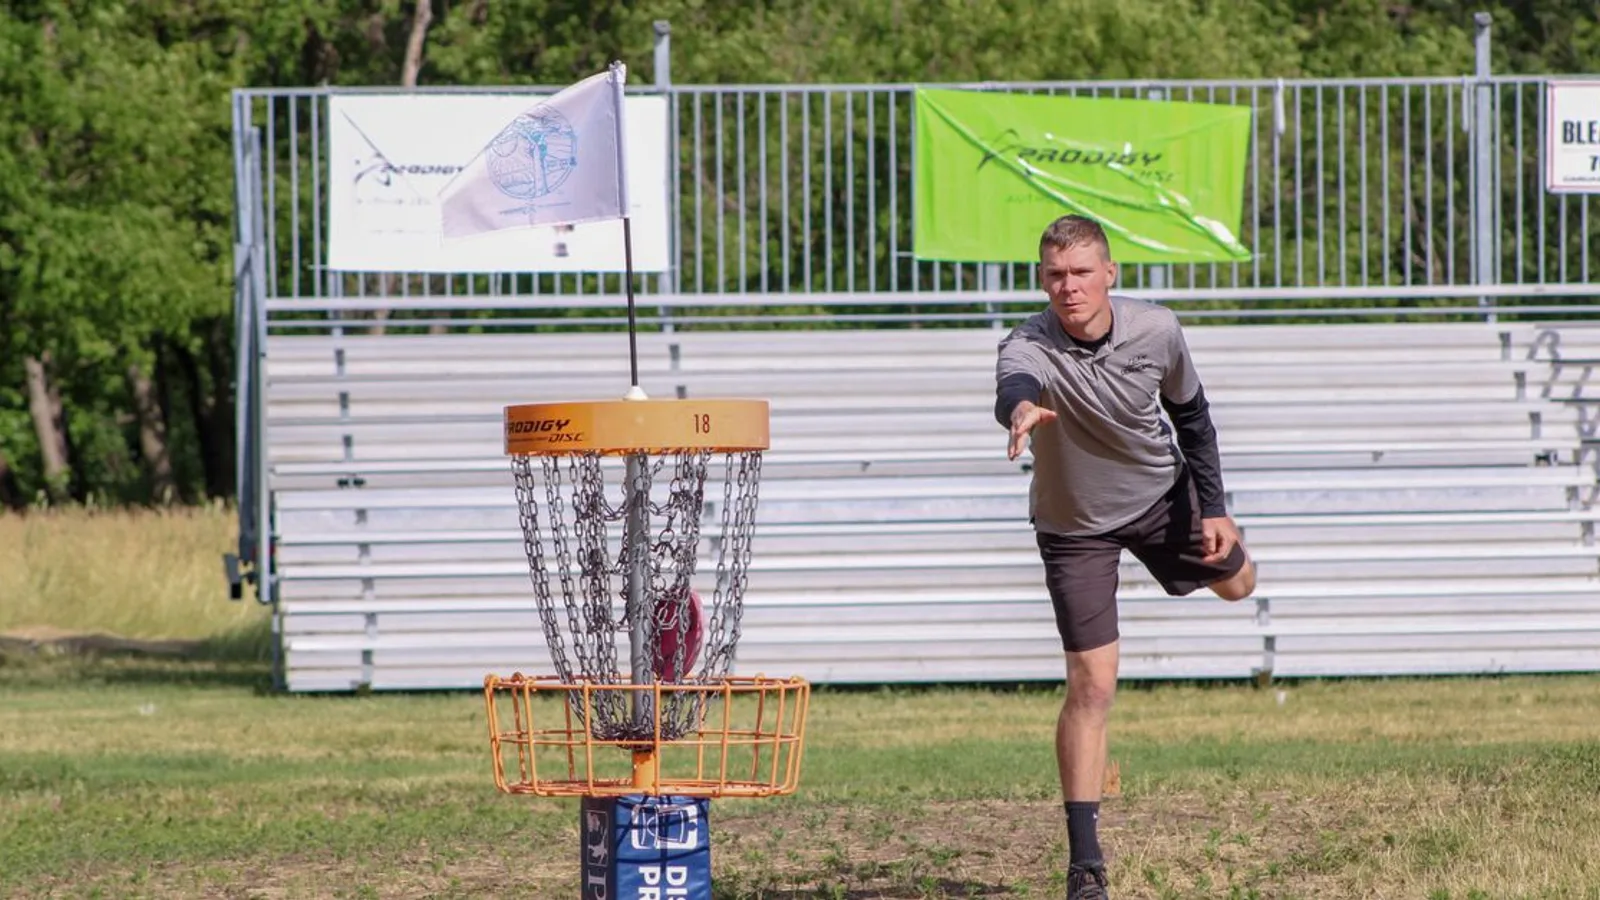
Two concepts not to be confused—and this is a mistake we see everywhere:
Putt styles:
- Spin putt: lots of spin. Helps in windy conditions and under low ceilings.
- Push putt: a more pushing motion, straighter trajectory. Useful if there’s an obstacle behind the basket.
- Hybrid (sometimes called spush): a mix of the two.
Stances (unrelated to shooting style):
- Stagger (or track stance): one foot in front of the other.
- Straddle: feet spread apart, equidistant from the target. Necessary when you’re in a bush or behind a tree.
The straddle is a stance, not a throwing style—and it’s perfectly legal, even within the 10-meter circle. The two axes can be freely combined.
The basics: maintain a constant wrist angle from start to finish, hit the same release point, and generate power through lower-body weight transfer. The arm motion remains consistent from one putt to the next—it’s the lower body that adjusts the distance.
The 3 Mistakes That Hold Beginners Back
Innova lists six. Here are the three most costly ones, along with how to correct them.
1. Rounding
The problem: The disc curves around your body instead of being thrown in a straight line. Your arm extends to a point where your body blocks the disc’s path, forcing it onto a curved trajectory. Result: The disc veers left—or off in any direction.
The fix: Aim for the back corner of the target on the opposite side of your throwing arm. This keeps the pull-through straight and naturally leads you to the power pocket.
2. Nose up
The problem: You release the disc with the front pointing upward. The disc rises instead of moving forward—it loses all its energy traveling upward rather than moving forward. It stalls, loses distance, and fades early.
The fix: exaggerate the nose-down angle in your grip before you even begin the throw. For a distance throw, the nose should point slightly downward at release.
This is probably the number one distance killer, and it’s invisible to the person making the throw.
3. The all-arm throw
The problem: trying to force the disc with your arm alone. Less distance, less accuracy, and more stress on the body (shoulder, elbow).
The fix: Instead of thinking “throw harder,” think “rotate from the hips”. The power of a good drive comes from the ground.
Bonus: the buying mistake: throwing a disc that’s too fast. Beginners buy distance drivers they don’t have the arm speed to make fly. A speed 13 in a beginner’s hands will plop on the ground; a midrange will go farther. See [disc ratings](/guides/disc-ratings-disc golf).
Hyzer and Anhyzer: The Release Angle
These are release angles, not properties of the disc. For a right-handed backhand (RHBH) thrower:
- Hyzer: the outer edge of the disc is tilted downward. Enhances the natural flight → the disc curves to the left.
- Anhyzer: the outer edge is tilted upward. This goes against the natural flight path → the disc veers to the right.
The mnemonic that never fails: hyzer = outer edge down; anhyzer = outer edge up. This applies equally to left-handers and forehand throws—it’s the left/right directions that are reversed, not the angle.
How to Improve (The Order That Works)
- Slow down. Aim for smooth throws before powerful ones.
- Learn with a putter or a midrange, not a driver.
- Throw while standing still until your line is consistent.
- Add the X-step only after that.
- Add power gradually, while maintaining clean timing.
When your timing breaks down, your accuracy goes with it. That’s why Innova’s “50% power” approach works: a fluid, well-executed throw beats a forced throw almost every time.
This guide is part of our disc golf series:
- 🏆 [How to Play Disc Golf: The Complete Guide](/guides/how-to-play-disc golf) — rules, scoring, the basics
- Which discs to choose as a beginner
- Disc Numbers Explained
- [Find a Course Near You](/disc golf) — 69 courses in Quebec